LESSON 6: Mastering Mandalas
/Mandala Rock Art is extremely popular these days. These designs on rocks are intricate, colorful, and simply beautiful. They are also a bit intimidating from an artist’s point of view. However, with a bit of practice you, too, can create gorgeous pieces of Mandala Rock Art!
First, though, we have to answer this question: What, exactly, is a mandala?
Examples of mandala rock art
Traditionally, a mandala is a geometric figure representing the inner and outer world of the universe in Hindu and Buddhist symbolism. The word mandala comes from Sanskrit, an ancient Indian language. Literally mandala means “circle.” The circle is seen as a magical form, without beginning and end, just as the universe is believed to have no end (source: “What are Mandalas?”).
The Sanskrit word mandala indicates everything that is round or circular. This is why mandalas are circular geometric patterns. Some people find the drawing and coloring of a mandala as a form of meditation. As they focus on coloring in the patterns of the form, they relax, their mind grows quiet, and they may enter into a spiritual space.
The keys features of mandalas are:
the circular shape
symmetry
balance
repeating patterns
Though there is a definite structure according to the “key features” above, mandalas allow lots of room for creativity. You can use every color of the rainbow, or just one color or color scheme. Your designs can vary widely, as long as you begin with a center and work your way around it while maintaining the circular shape.
Project 1: Practicing with Dotting Tools
Though we have used our ball stylus pens (also known as dotting tools) in previous lessons, we only touched the surface of what you can actually do with these handy tools. Before we dive into creating a mandala design on a rock, we want to spend some time practicing with our dotting tools.
Watch the video above and/or follow the steps below:
Find some pieces of scrap paper, preferably thick paper like scrapbooking paper or heavy cardstock. I like to use black paper for my dotting tool practice, since most of my rock mandalas have black backgrounds.
Gather your dotting tools and some white acrylic paint.
Using a large dotting tip, dip the tool into the white paint and place a dot on the paper. Do that again to really “load” the dot with paint.
Now place a series of dots from the main dot outward without reloading the paint. You will see that this forms a line of dots descending in size.
This looks like the center of a dragonfly! Use the same tip to create wings by placing a dot on the paper and dragging it towards the center of the dragonfly. Use this process to place 2 wings on each side of the dragonfly.
Now use a small tip to dot 2 antennae on the dragonfly’s head. You made a dragonfly! Try making a few more.
Watch the video to continue practicing your dotting techniques.
The more you practice, the better your technique. Try different designs until you have the feel of your dotting tools.
Project 2: Painting a Mandala Rock
Now it’s time to paint a mandala rock! Remember, practice makes perfect. You can’t expect a perfect mandala on your first try. Just focus on symmetry, find your inner peace, and relax as you build your mandala.
Watch the video below for step-by-step instructions. Normally I would also type out instructions, but these mandala techniques are best learned while watching.
Additional Practice Mandalas
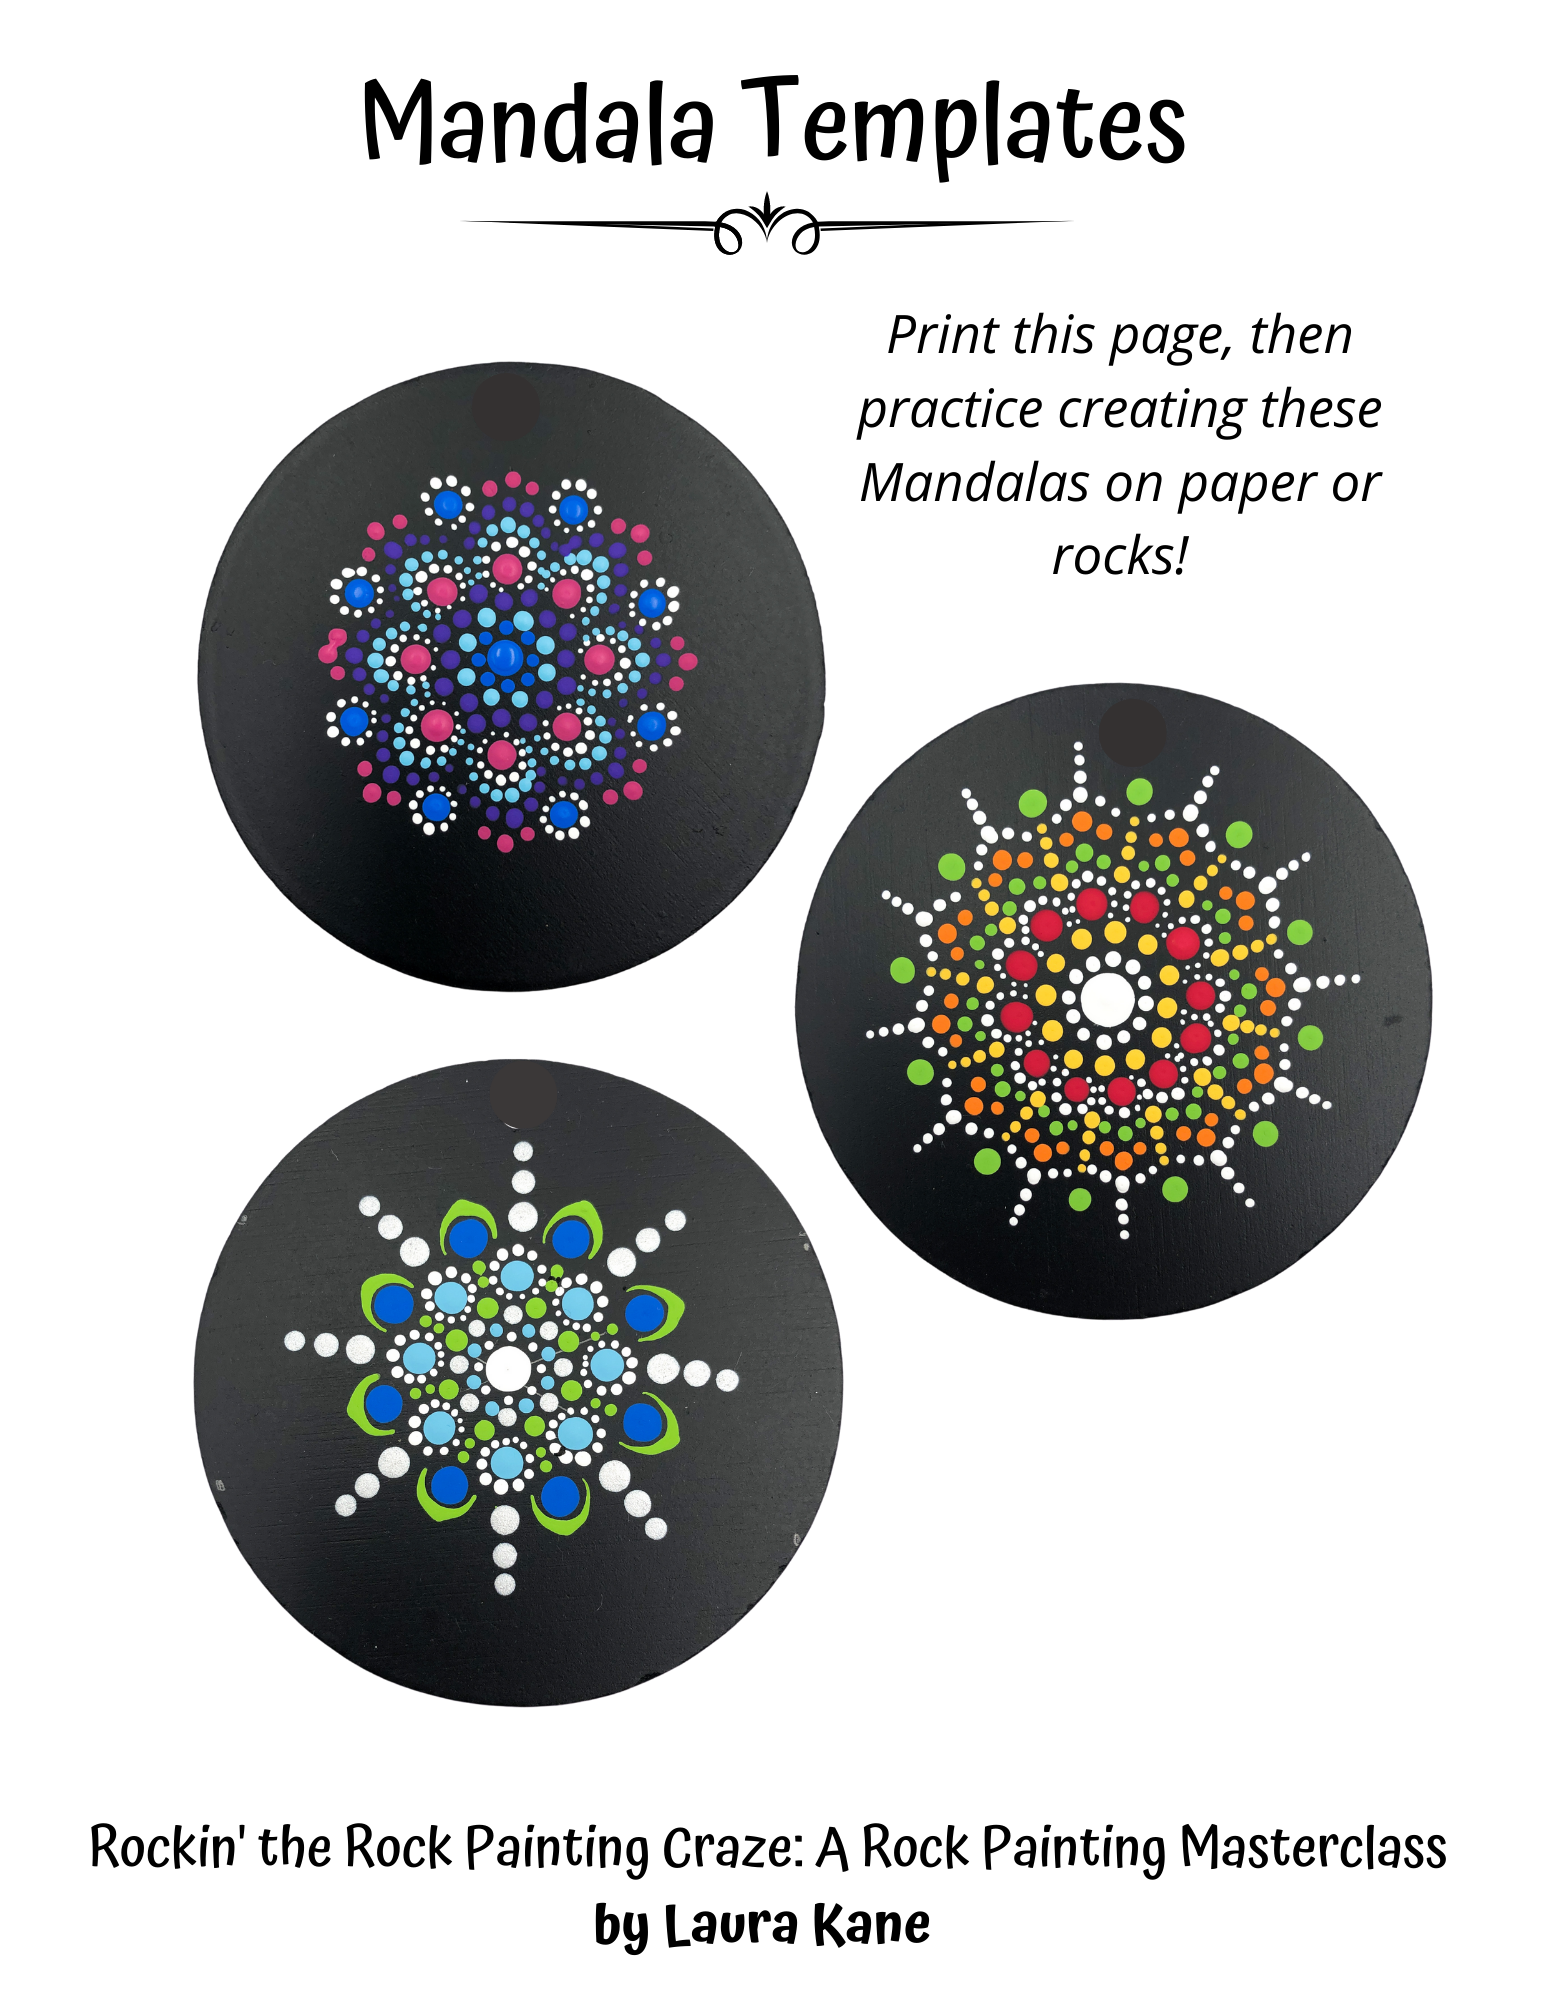
For more practice painting mandalas, print out the following PDF document (click on it to get the document) and use the templates as guides for your artwork. Have fun!


